
Hello All,
Today Nonnina and I are working hard making some homemade pasta. As an italian one should always know how to make some type of pasta whether it is gnocchi or ravioli; having a recipe in your back pocket is a necessity. The first time Nonnina ever made pasta by herself was when she was only nine years old in her home in Italy. She had made fettuccini and it was eggless, only flour and water is the way they used to make it back home. She told me that once she had finished, her brother Mike yelled at her saying her pasta was too soft, but her mother quickly came to her defence saying "you're lucky she made soft pasta otherwise you'd have no food!"
Nonnina's pasta of choice here in Canada has always been cannelloni. Ever since I was a little girl coming over Nonnina's house for Sunday lunch or for a birthday party, I always remember her serving her homemade cannelloni. This recipe was completely made up by Nonnina and through trial and error she finally came up with the perfect recipe that everyone loves! She's had to make some adjustments for people over the years but this has only helped make the recipe more versatile as Nonnina now makes the cannelloni gluten free on occasions.
The reason we're making cannelloni today is because Nonnina invited us all over for dinner on Friday to see my moms godmother who is coming to visit all the way from San Diego.
October is #NationalPastaMonth and in celebration, Let's Make Pasta!

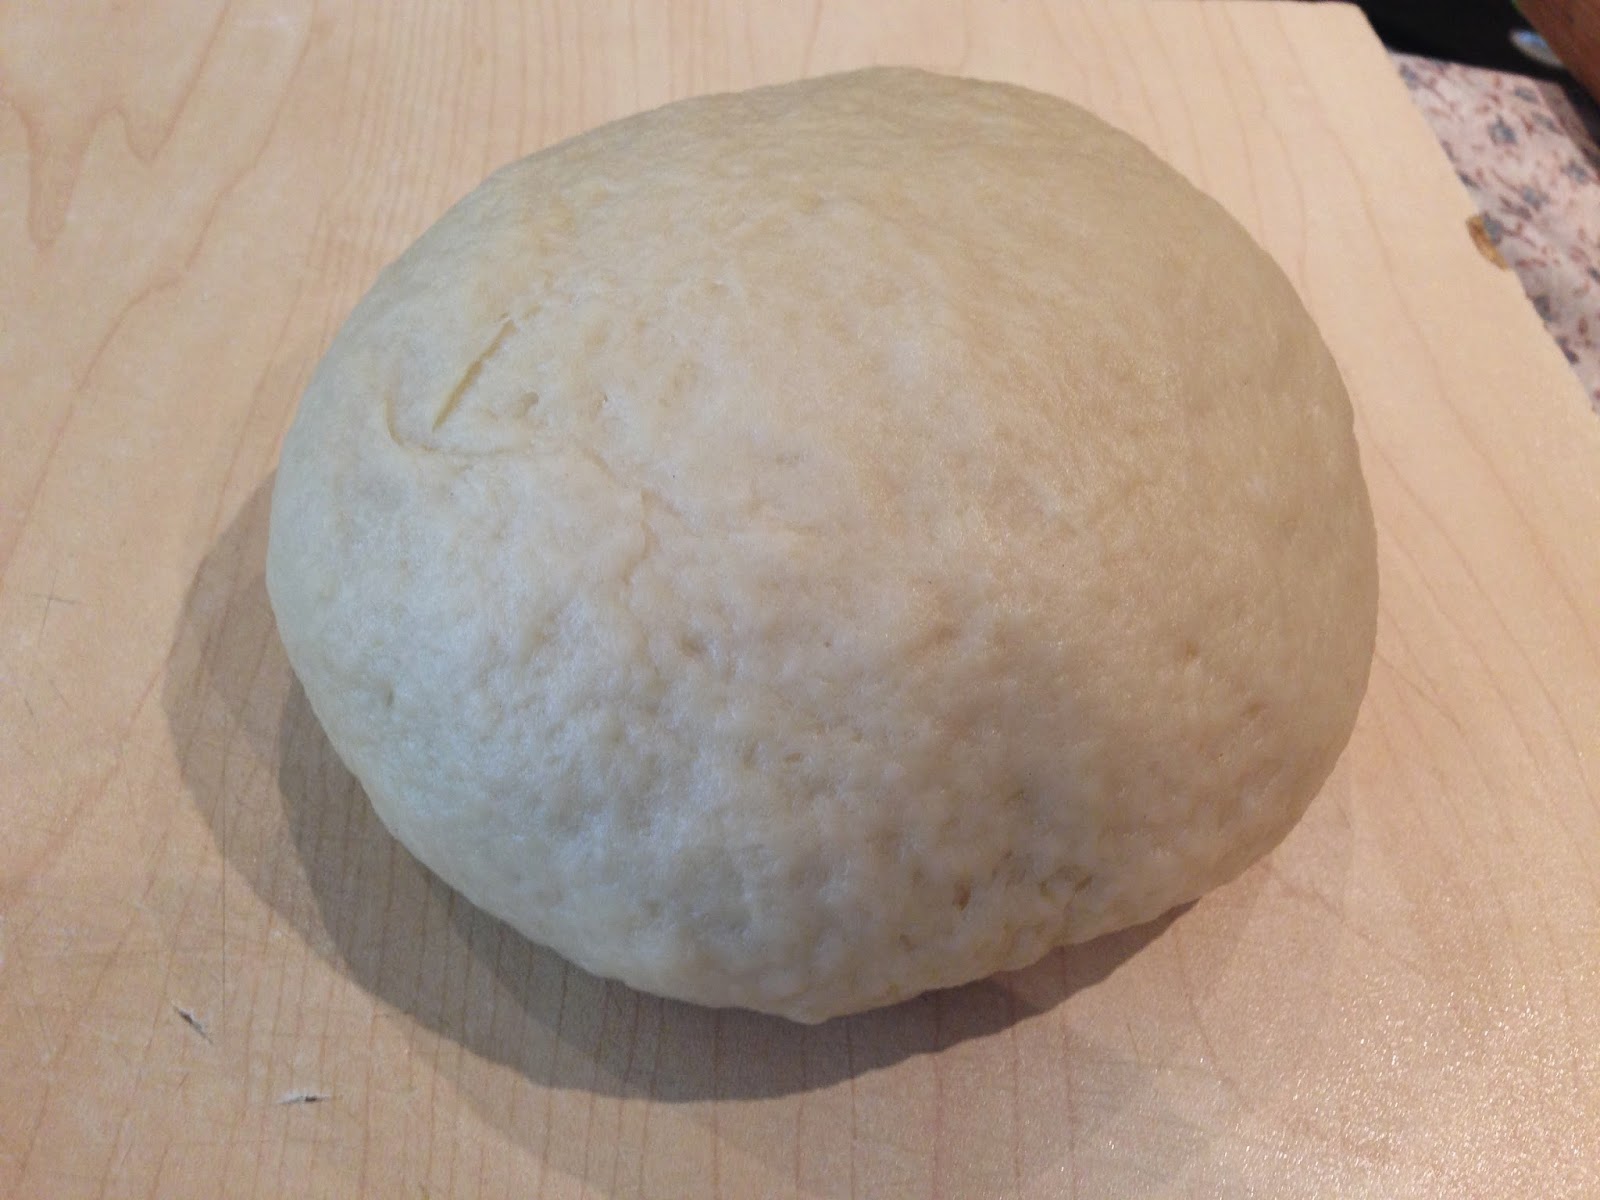
Dough
- 3 cups of flour
- 4 eggs
- 1 tsp of salt
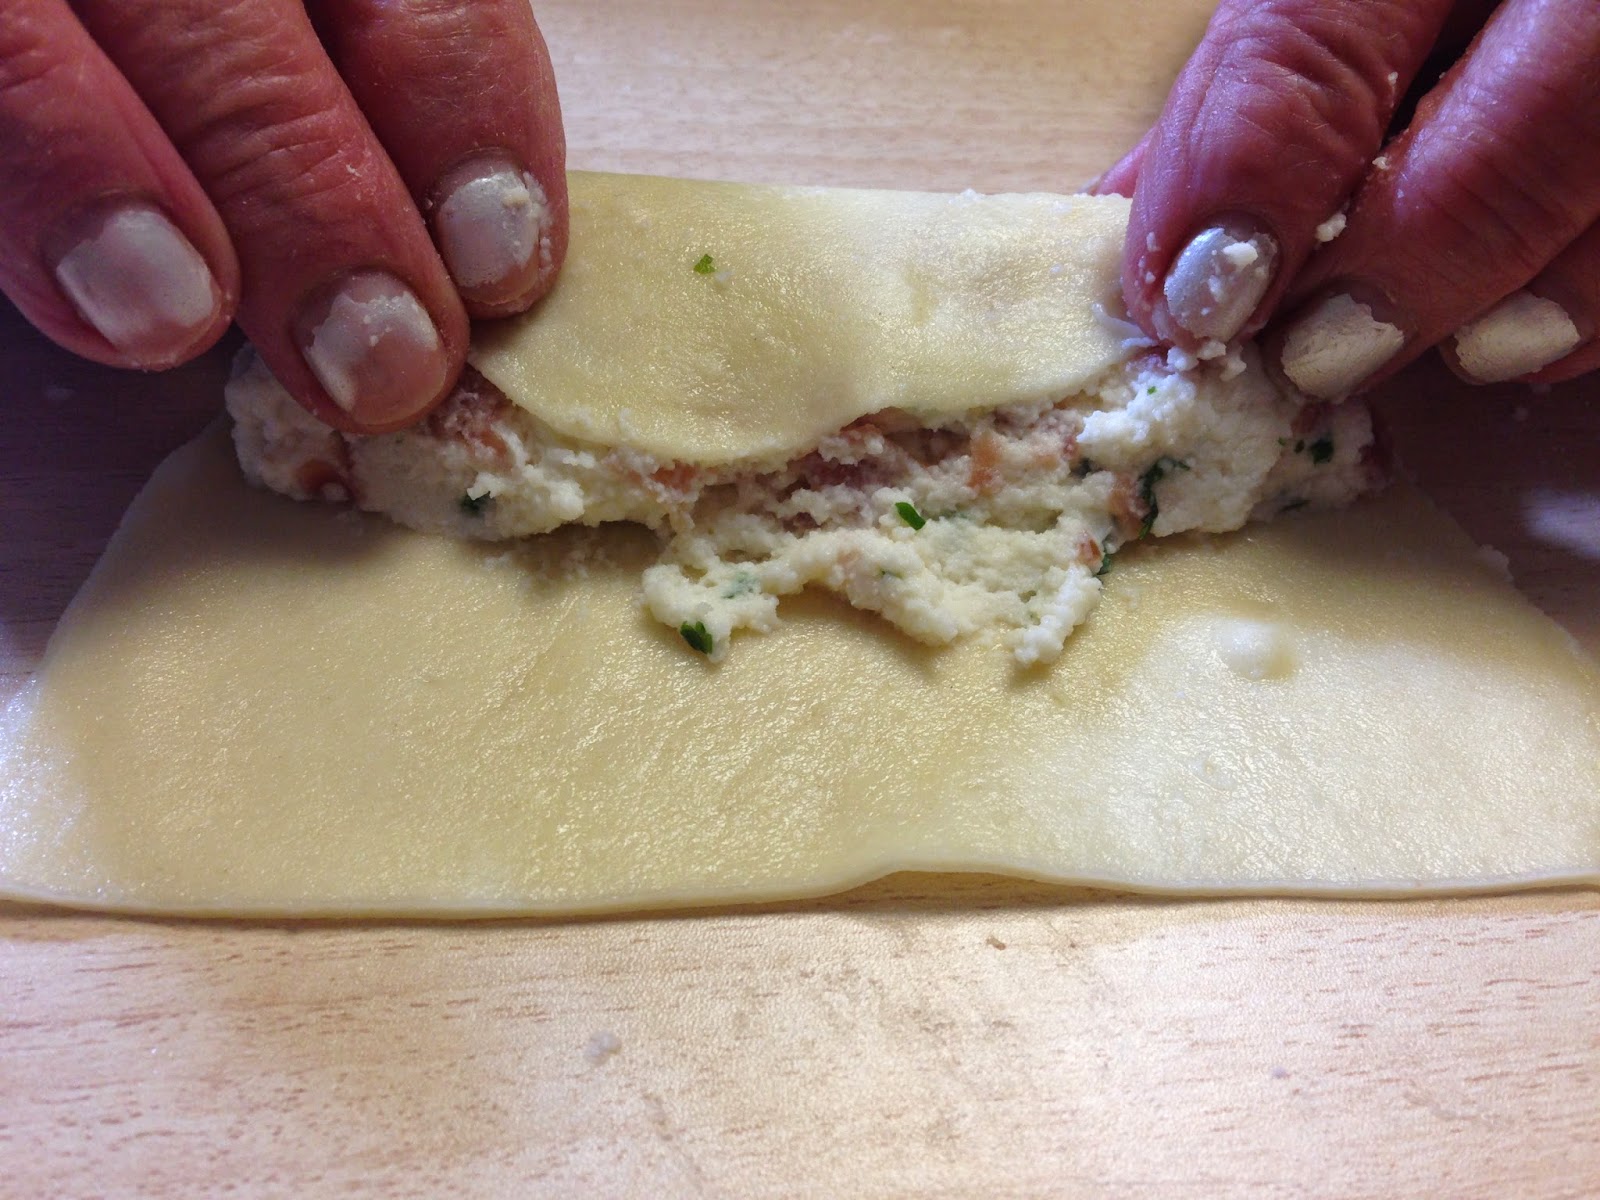
Filling
- 900g of ricotta
- 1 ball of Fior Di Latte Mozzarella
- 1 cup of grated Parmesan cheese
- 250g of chopped prosciutto
- 1 tsp of salt and pepper
- 2 eggs
- 1 tbsp of finely chopped parsley
Directions
1. Pour the flour on a cutting board or flat surface making a hole in the centre to put the eggs.

3. Whisk the eggs in the centre first then gradually pull the flour from the sides until everything is combined.


NONNINA'S TIP* you can make the dough ahead of time and leave it in the fridge, it can stay for 2-3 days
5. Put the dough under a ceramic bowl and let it rest until your filling is prepared.


12. Cut the log into pieces, sprinkle with flour and press them down so they become flat.


NONNINA'S TIP* Remember only boil a few pieces at a time or they will stick together
16. Lay the pasta on a cloth, pat dry and begin to fill.


Don't forget to follow my blog to get new recipes and see what's cooking in Nonnina's Kitchen EVERY week!
Buon Apetito!
With Love From, Nonnina!